Windows Phone 8 prides itself on being a highly customizable mobile operating system. From the location and size of the live tiles to the lock screen and theme colors, each Windows Phone 8 handset offers a ton of options—something you'll likely notice upon your first visit to the Settings menu. If you haven't already perused the lengthy list of settings, check them out by tapping the Settings icon, which looks like a small gear, or by selecting Settings from the App list.
However, there's no need to be overwhelmed: Although the settings may seem extensive, that's only because the new OS has fewer top-down menus. In other words, many of the settings that you usually find nested in menus on other devices are located right on the main settings screen in Windows Phone 8. (Depending on what type of Windows Phone 8 handset you own, you may see other options that are not mentioned here. For example, HTC 8X phones also have Beats Audio and Attentive Phone settings, while Nokia Lumia handsets also have Display+Touch and Nokia Account settings. This article focuses only on settings that are universal to all Windows Phone 8 handsets.)
To start off, note that the Settings menu consists of two screens. The first screen, for system settings, covers general device adjustments (such as changing your ringtone or toggling Bluetooth, Wi-Fi, or airplane mode). The second screen is for application-specific settings (such as choosing which apps may perform background tasks).
System settings

Ringtones+Sounds
The Ringtones+Sounds setting screen is where you can adjust and modify the assorted sounds your phone makes.
At the top of the screen are two toggle buttons for turning your phone’s ringer and vibration on and off. To change your phone’s ringtone, tap the box underneath 'Ringtone'. Choose a ringtone from the menu, or tap the Get more link underneath the box to download ringtones from the Windows Phone Store.
In this screen you can also choose tones for different notifications, selecting separate tones for text messages, voicemail, and email. You can also elect to play a sound for reminders, key presses, locking and unlocking, the camera shutter, and other events.
One thing to remember: Although the Ringtones+Sounds settings screen controls your phone’s sounds, if you turn the phone’s volume off using the physical volume buttons, you will not hear these sounds.
Theme
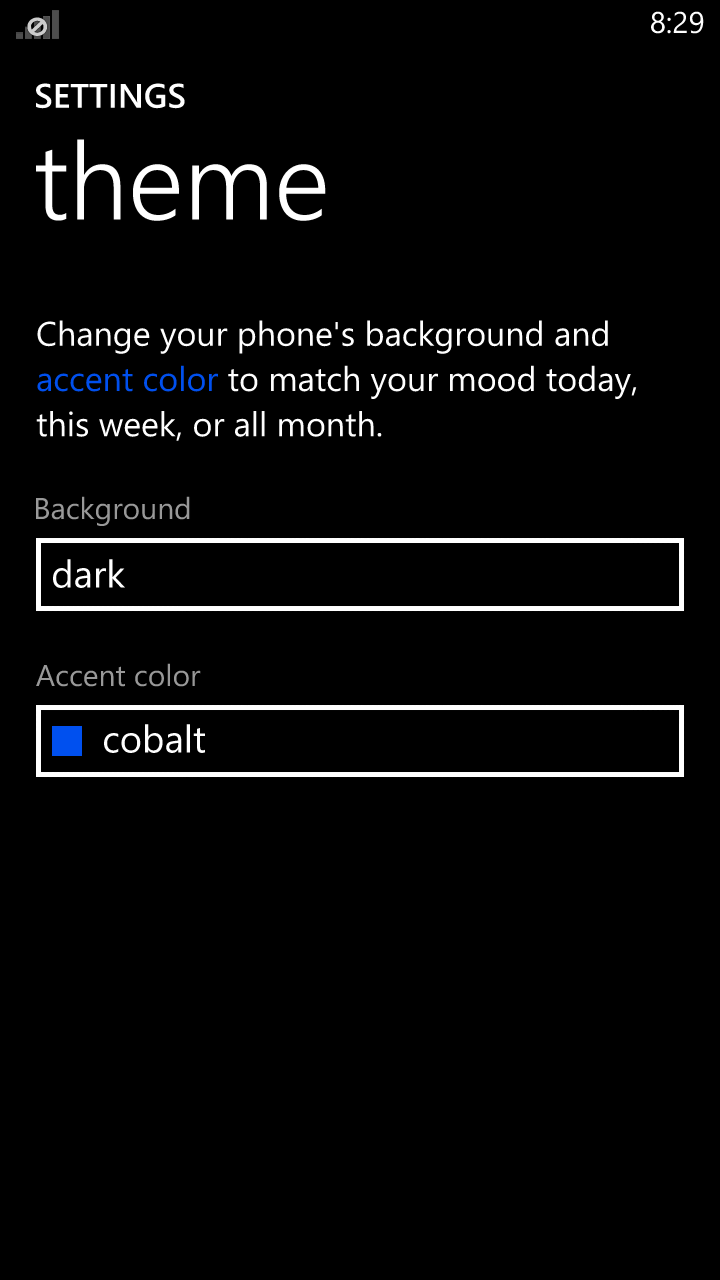
The Theme setting lets you choose your phone’s general color scheme. Here you can select from one of two backgrounds: Dark (black with white text) or Light (white with black text). You can also choose one of 21 accent colors. The accent color shows up mainly on the Start screen, where it’s the background hue for generic tiles. It also appears in the App menu and in other menus on your phone. You can change both the theme and the accent color as often as you like.
Email+Account
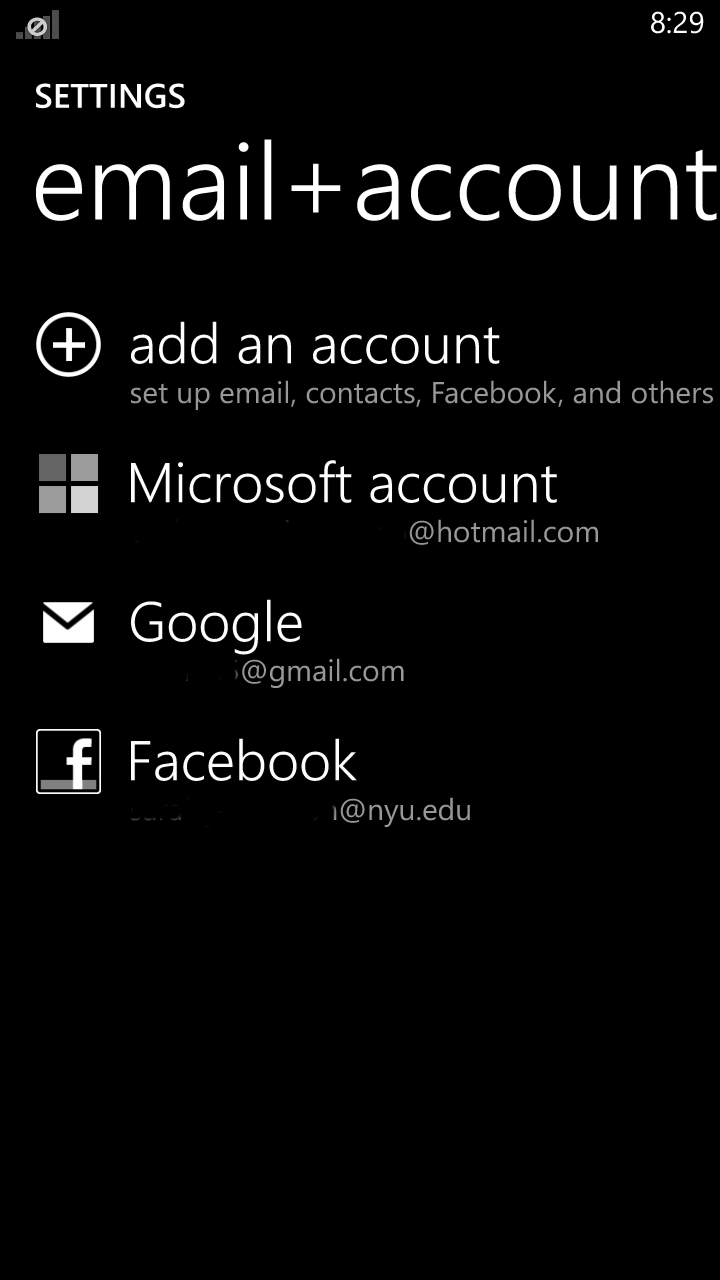
In the Email+Account screen, you can set up any and all of your email and social networking accounts on your Windows Phone 8 device. To add an account, tap Add an account and choose the type. You can pick from several preset account types (such as Facebook, Google, Hotmail, Twitter, and Yahoo Mail), or you can add your own type through the Other account option. To add a business Exchange account, tap Advanced setup.
You also manage your existing accounts from this screen. To do so, simply tap the account name. Here, you can change the account name, choose how often to download content or email from the account, choose what type of account content to sync (email, calendar events, or contacts), and modify your login information. To save your changes, tap the checkmark or Done button.
Internet Sharing
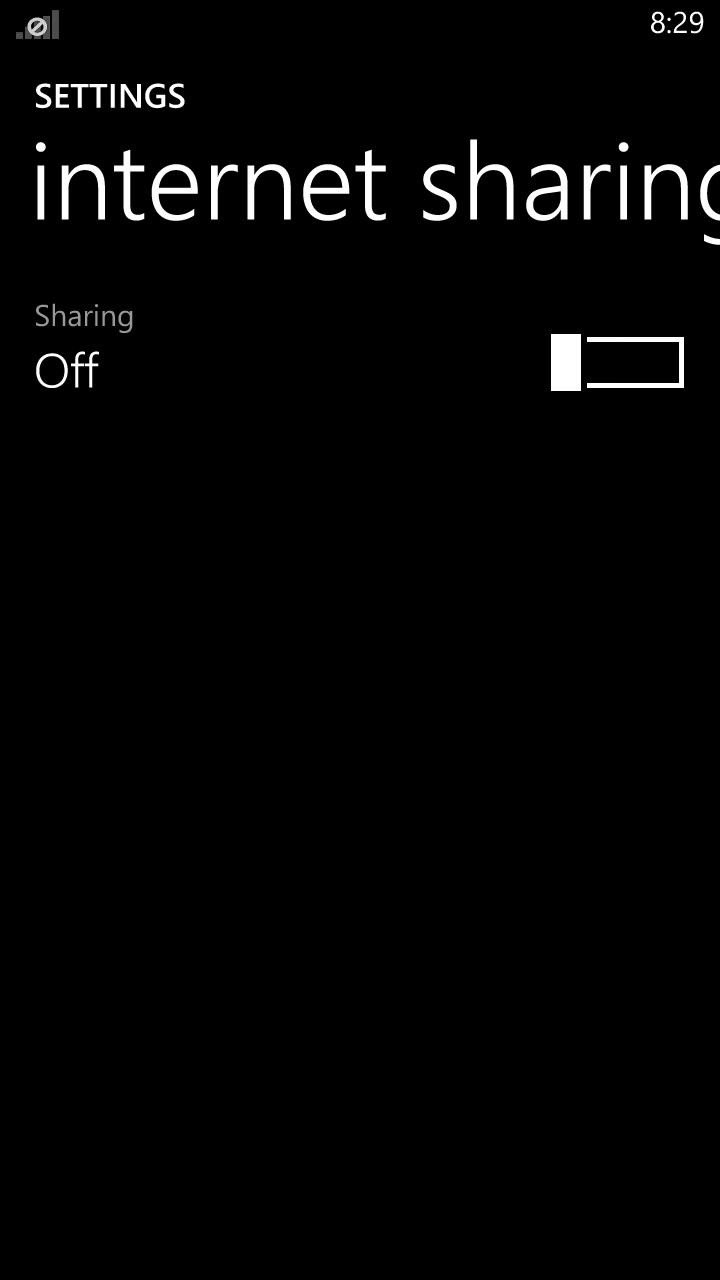
A new feature to Windows Phone 8, Internet sharing lets you turn your phone into a Wi-Fi hotspot so that you can share your cellular data connection with another device.
Simply enter the Internet Sharing screen and tap the toggle button to turn the feature on. You can set up your sharing with a customized name and password to prevent random devices from connecting to your phone. The Internet Sharing screen will show you how many devices are connected to your phone (up to five can be connected at any one time). If no devices are connected for several minutes, the sharing feature will turn off automatically to conserve battery life.
Note, however, that not all carriers support this feature.
Lock Screen

The lock screen is the very first screen you see when you turn your phone on (before you see the Start screen). The Lock Screen settings menu lets you modify how this screen looks in several ways:
- Change the background photo or elect to display a photo from Bing or Facebook.
- Choose to show an artist or album picture on the lock screen when music is playing.
- Choose to show app notifications on the lock screen. You can pick one app (such as Facebook) that will show detailed updates, and you can select multiple apps (such as your email app and calendar) that will show quick updates.
- Choose how long your lock screen stays on before the screen times out.
- Set a password or PIN so that only you can access your phone.
Wi-Fi
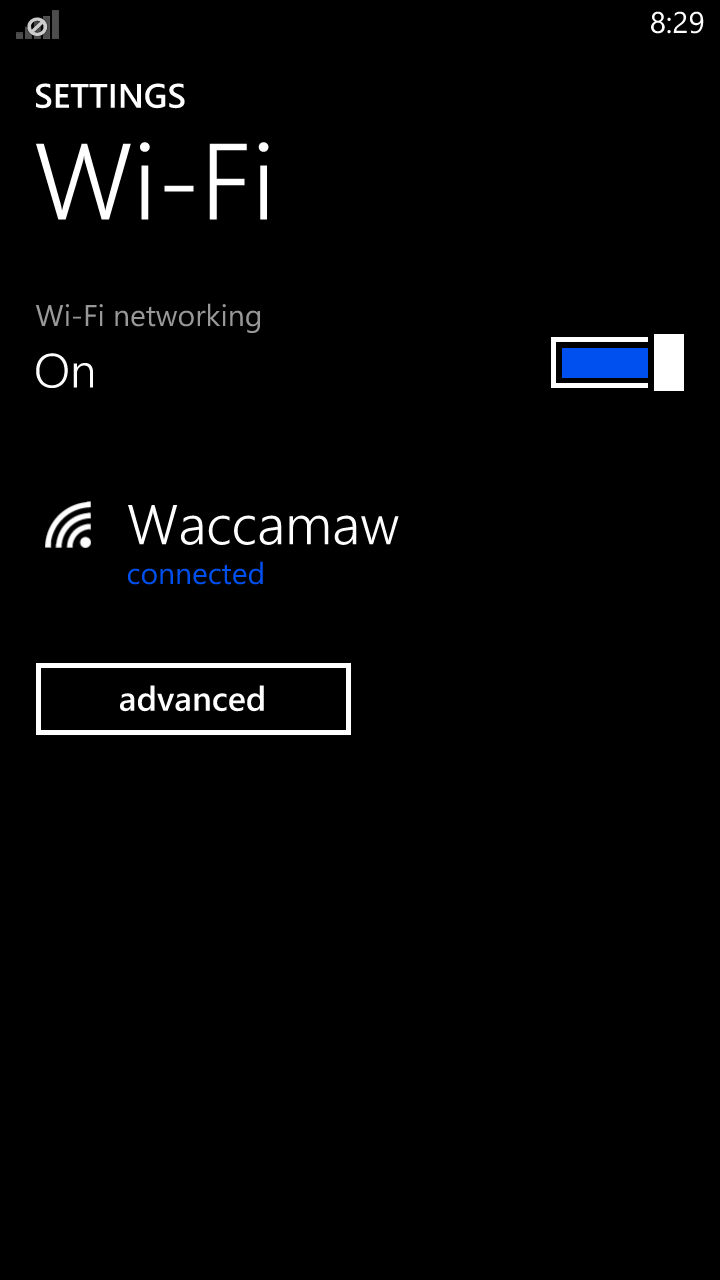
In this screen, you can manage your phone’s Wi-Fi function. Turn the Wi-Fi antenna on or off by tapping the toggle button.
To connect to a specific network, tap the network name and enter a password (if necessary). Tap the Advanced button to see additional settings; here you can choose to be notified when new networks are available, to connect automatically to Wi-Fi hotspots, and to allow your phone to send information about Wi-Fi connections to discover nearby Wi-Fi hotspots. In this section, you can also see the Wi-Fi networks to which your phone has connected before (those that it “remembers” as known networks). You can also have your phone "forget" a network, by tapping and holding the name of the network until a delete button appears.
Bluetooth
The Bluetooth setting is similar to the Wi-Fi setting. You need to turn Bluetooth on if you want to connect a Bluetooth device, such as a headset or an external keyboard, to your phone. To turn Bluetooth on, simply tap the toggle; you can also turn Bluetooth off by tapping the toggle again. When Bluetooth is on, your device will be discoverable to other Bluetooth devices.
Tap+Send

Tap+Send lets you activate your phone’s NFC (near-field communication) abilities. When you turn this feature on, you will be able to share photos, videos, contacts, websites, and other media with another NFC-enabled phone simply by tapping the two devices together. To turn NFC on or off, tap the toggle button.
Airplane Mode
Though its name suggests that it’s designed exclusively for use during flights, airplane mode is also a convenient setting if you want to shut down your phone’s sharing functions without actually turning off your device.
Airplane mode turns off your phone’s cellular network, Wi-Fi, Bluetooth, and NFC sharing. To turn airplane mode on or off, simply tap the toggle button. You can turn Wi-Fi, Bluetooth, and NFC sharing on, separately, after you’ve turned airplane mode on.
Cellular
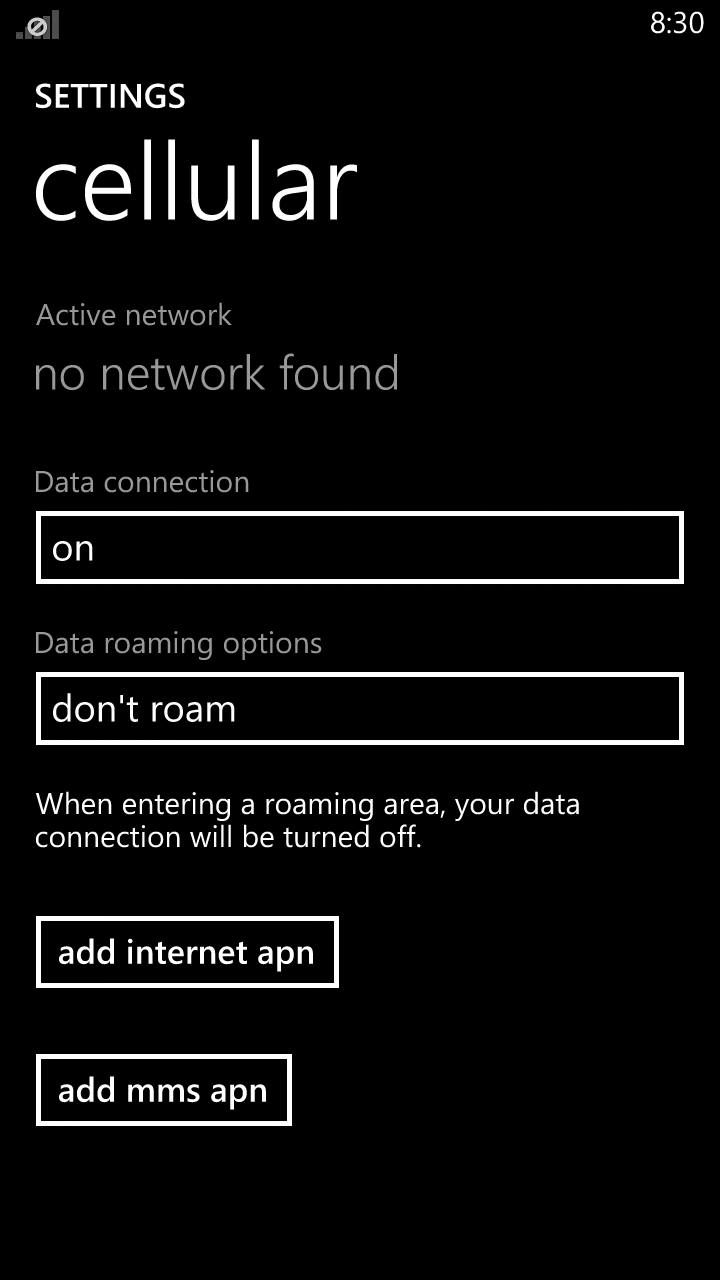
This settings screen allows you to turn your cellular data connection on and off, as well as to adjust your roaming settings. To turn the cellular data off, tap the box under 'Data connection' and then tap Off. You can also determine whether your phone should roam—if you choose Don’t roam, your phone will automatically turn off the data connection when you enter a roaming area.
Location
Under this menu, you can choose whether applications can use your location. If you turn location on (using the toggle button), apps such as Facebook, Foursquare, and Google Maps will be able to see where you are and use that information to give you directions (in the case of Google Maps) or let you check in to local businesses (in the case of Facebook and Foursquare). Some apps may also use this data to target local advertisements to your phone.
Next page: Kid's Corner and other system settings
No comments:
Post a Comment